
Creating your own skincare products allows for complete control over the ingredients, concentrations, and purity of the formulas you apply to your face. When learning how to make hyaluronic acid serum, the process is surprisingly straightforward, focusing on the careful hydration of hyaluronic acid powder.
This humectant is a powerhouse in the beauty industry because it can hold up to 1,000 times its weight in water, making it a critical component for achieving deep hydration and plump, youthful-looking skin. By sourcing high-quality ingredients, you can craft a professional-grade product that rivals expensive store-bought versions while saving significantly on costs.
Understanding the Science of Hyaluronic Acid
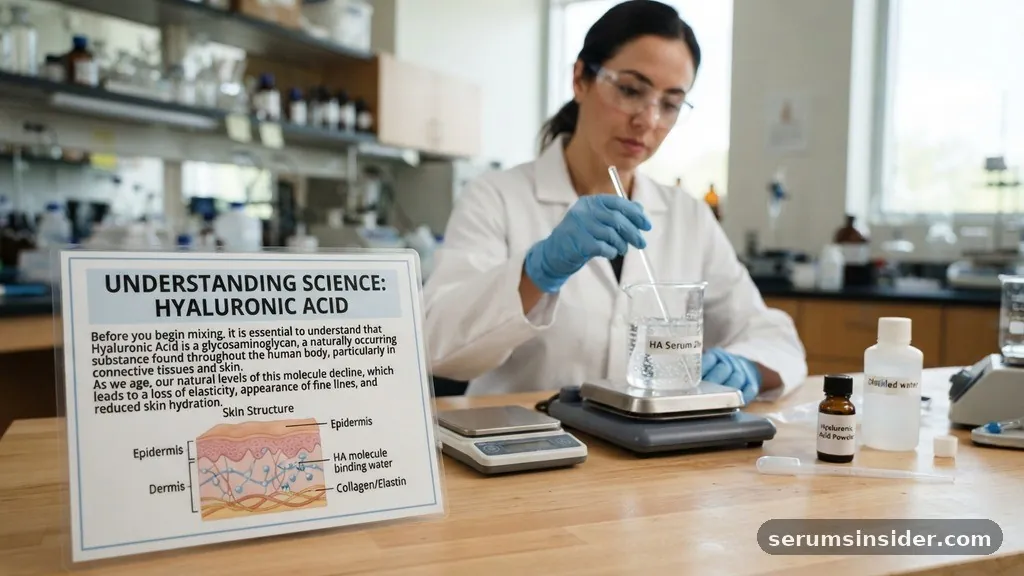
Before you begin mixing, it is essential to understand that hyaluronic acid is a glycosaminoglycan, a naturally occurring substance found throughout the human body, particularly in the connective tissues and skin. As we age, our natural levels of this molecule decline, which leads to a loss of elasticity and the appearance of fine lines. When you apply a serum topically, you are essentially providing your skin with a moisture-binding agent that pulls water from the environment into the upper layers of the epidermis.
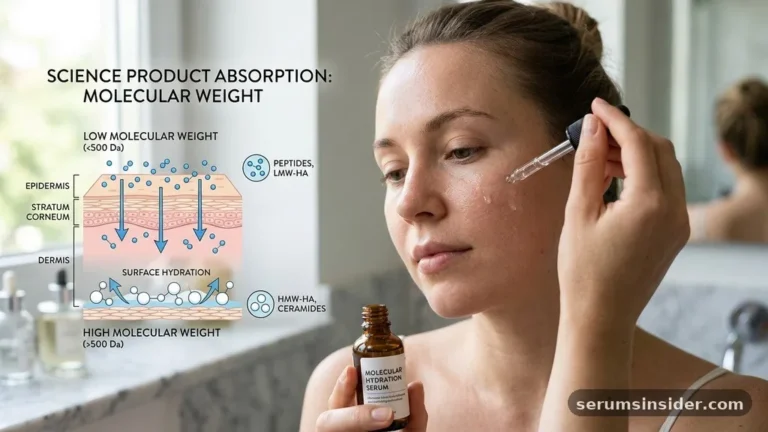
The efficacy of your DIY serum depends largely on the molecular weight of the powder you purchase. You will typically find two main types: high molecular weight and low molecular weight. High-molecular-weight HA forms a protective, breathable barrier on the surface of the skin, preventing transepidermal water loss.
Conversely, low-molecular-weight HA is small enough to penetrate deeper into the skin layers. Many DIY enthusiasts prefer using a mix or a specific grade that suits their primary skin concerns. For a standard, effective recipe, high molecular weight is the most common starting point because it creates a beautiful, gel-like consistency that feels luxurious during application.
Gathering Your Essential Ingredients and Tools
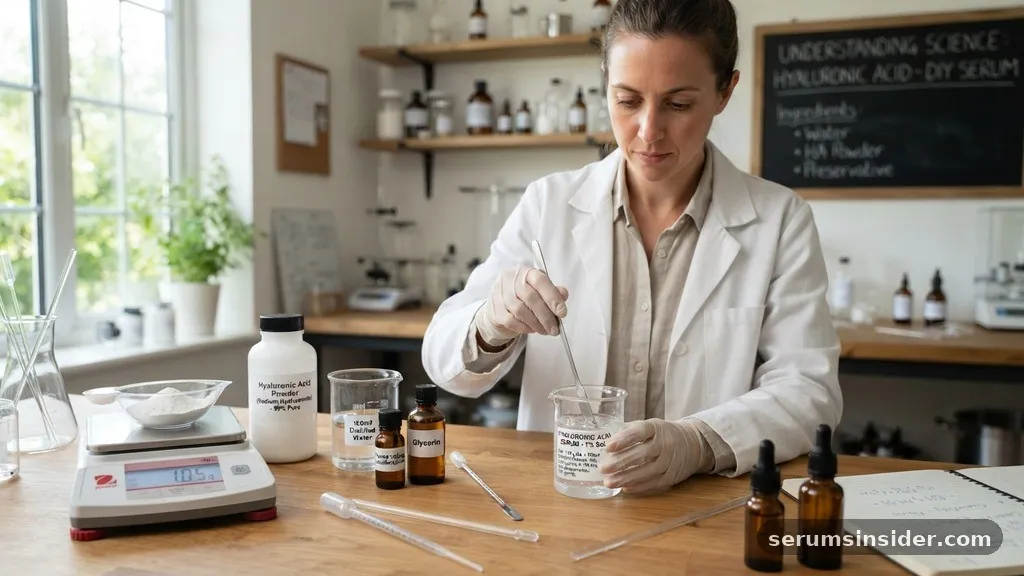
To successfully prepare your serum, you need to assemble a clean workspace and the correct components. The primary ingredient is the acid powder itself.
When buying this, ensure you are getting pure sodium hyaluronate, which is the salt form of hyaluronic acid that is much easier to dissolve in water. You will also need distilled water; using tap water is strictly discouraged because the minerals and impurities found in municipal water can react with the powder or introduce bacteria, ruining the stability of your final product.
Beyond the base, you will need a preservative. This is a non-negotiable step if you intend to keep your serum for more than a few days. Water-based formulas are breeding grounds for mold and bacteria. Leucidal liquid is a popular, naturally derived option that provides broad-spectrum protection.
If you want to enhance the formula, you might consider adding glycerin optional to boost the humectant properties or even a few drops of a water-soluble vitamin like B5 (panthenol) to soothe the skin. Always have a sterile glass bottle with a dropper ready to store your finished creation, as dark glass helps protect the integrity of the ingredients from light degradation.
The Step-by-Step Mixing Process
The actual process of making the serum is a lesson in patience. Because hyaluronic acid is a powerful gelling agent, you cannot simply dump the powder into a cup distilled water and expect it to dissolve instantly. If you add the powder too quickly, it will clump into “fish eyes”—gelled spheres with dry powder centers that are nearly impossible to break down without a high-speed mixer.
Start by measuring your distilled water into a clean glass beaker or bowl. Slowly sprinkle the powder over the surface of the water. Do not stir immediately.
Let the mixture sit for several hours, or preferably overnight, in a cool, dark place. As the powder hydrates, it will naturally sink and swell, eventually turning the water into a clear, viscous gel. Once the mixture is fully hydrated and smooth, you can add your active ingredients, such as a water-soluble vitamin or your preservative.
Use a clean glass rod to stir gently, ensuring the additives are thoroughly incorporated. Once finished, transfer the gel to your dropper bottle.
For those interested in the official safety standards of cosmetic ingredients, you can find more information through the U.S. Food and Drug Administration guidelines on cosmetic labeling and safety.
Customizing Your Serum for Specific Skin Needs
Once you master the basic formulation, you can experiment with variations to address specific skin concerns. Many people enjoy adding a small amount of niacinamide or other water-soluble actives to create a multitasking treatment. However, you must avoid adding oil-based ingredients unless you are prepared to use an emulsifier.
Since water and oil do not mix, adding an oil directly to your HA gel will result in separation. If you want the benefits of both, it is often better to apply an oil-based serum or moisturizer after the hyaluronic acid serum has fully absorbed into the skin.
Common Additive Considerations
- Glycerin: Adds extra slip and humectant power for extremely dry climates.
- Vitamin B5 (Panthenol): Excellent for skin barrier repair and soothing inflammation.
- Preservatives: Crucial for safety; never skip this if you are keeping the bottle for more than 48 hours.
- pH Adjusters: HA serum is generally stable, but checking the pH ensures it remains compatible with the skin’s natural acid mantle.
Addressing Topical Gaps: Why DIY Can Be Challenging
A common issue beginners face is the “tacky” feeling left on the skin after application. This usually happens when the concentration of the powder is too high. A good starting point is a 0.5% to 1% solution.
This means for every 100ml of water, you use 0.5g to 1g of powder. If you use too much powder, the serum will feel sticky and may pill when you apply makeup or moisturizer over it.
Another frequent problem is the presence of bubbles. When you stir your serum, you inevitably introduce air.
If your final product is full of bubbles, it is not ruined, but it is less aesthetically pleasing. To minimize this, stir very slowly and let the mixture sit undisturbed for 24 hours after the final mixing stage; this allows the air bubbles to rise to the surface and dissipate naturally before you bottle the serum for daily use.
Comparing Commercial vs. Homemade Serums
To understand the value of your homemade product, it helps to compare the typical characteristics of store-bought versions versus your custom creations.
| Feature | Commercial Serum | Homemade Serum |
|---|---|---|
| Cost per Ounce | High ($20 – $100+) | Low ($1 – $5) |
| Ingredient Control | Limited by manufacturer | Full control |
| Shelf Life | Long (1-2 years) | Moderate (3-6 months) |
| Additives | Often includes fragrance/dyes | Optional/Minimal |
As shown in the table, the primary advantage of making your own serum is the cost-to-value ratio and the ability to exclude unnecessary fillers like fragrances or dyes that can trigger sensitivities. While commercial products often include stabilizers that give them a longer shelf life, you can achieve a very respectable 3-to-6-month lifespan by using a proper preservative and keeping your tools sterilized.
Safety, Storage, and Usage Tips
Because you are working with a water-based product, contamination is your biggest enemy. Always sanitize your workspace, utensils, and bottles with 70% isopropyl alcohol before you begin. Never touch the dropper tip to your skin or face during application, as this introduces bacteria directly back into the bottle, which can degrade the preservative and lead to spoilage.
Store your finished serum in a cool, dark place. While you do not necessarily need to keep it in the refrigerator, doing so can provide a refreshing, cooling effect when you apply it to your face in the morning. If you notice any change in smell, color, or texture, discard the batch immediately.
Consistency is key to seeing results with hyaluronic acid; apply it to damp skin to maximize its ability to draw moisture into the surface. By following these professional-grade practices, you ensure that your homemade skincare routine is as safe as it is effective, providing your skin with the lasting hydration it needs to look its best.
Frequently Asked Questions
How long does homemade hyaluronic acid serum last?
If you include a broad-spectrum preservative like Leucidal Liquid and maintain sterile conditions, your serum will typically last between three to six months. Without a preservative, it must be used within three to five days and kept in the refrigerator to prevent bacterial growth.
Can I add essential oils to my serum?
It is not recommended to add essential oils directly to a water-based hyaluronic acid serum. Oil and water do not mix, and essential oils can be highly irritating to the skin when not properly emulsified or diluted in a carrier oil. It is safer to keep them separate.
Why is my serum sticky after applying?
Stickiness usually indicates that the concentration of the powder is too high. Try reducing the amount of powder in your next batch. Additionally, always apply the serum to slightly damp skin and follow up with a moisturizer to lock in the hydration and eliminate any surface tackiness.
Can I use tap water instead of distilled?
You should never use tap water. Tap water contains minerals, chlorine, and potential microorganisms that can destabilize the formula and lead to rapid spoilage. Always use distilled or deionized water to ensure the purity and longevity of your DIY skincare products.
In summary, learning how to make hyaluronic acid serum is a rewarding endeavor that bridges the gap between science and self-care. By understanding the role of molecular weight, the importance of hydration, and the necessity of preservatives, you can create a high-performance product tailored to your skin’s unique requirements. With the right ingredients and a disciplined approach to sanitation, you can enjoy professional-level hydration at a fraction of the cost of luxury brands.